
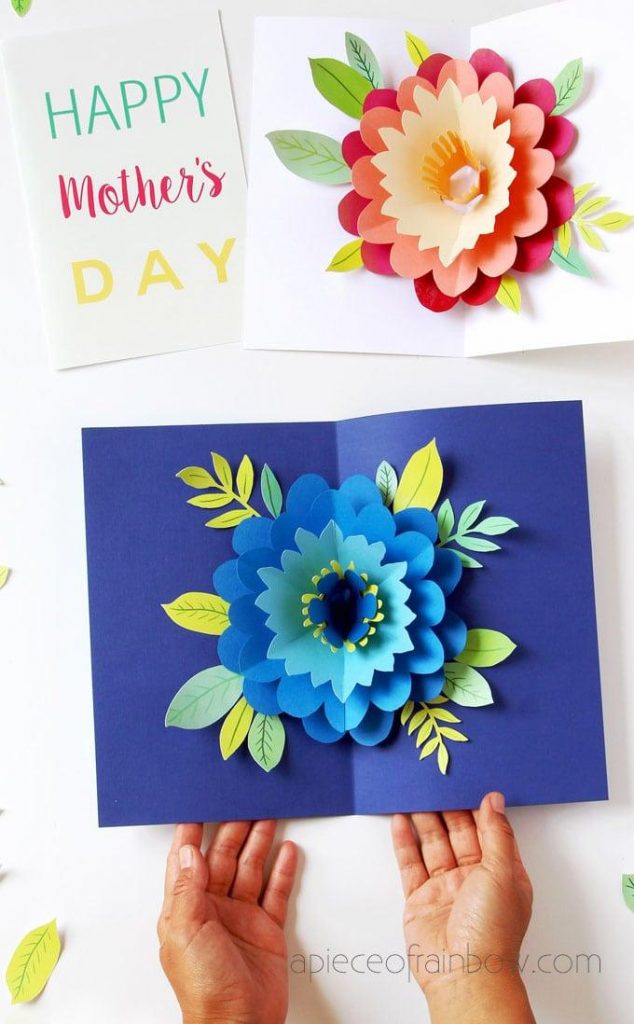
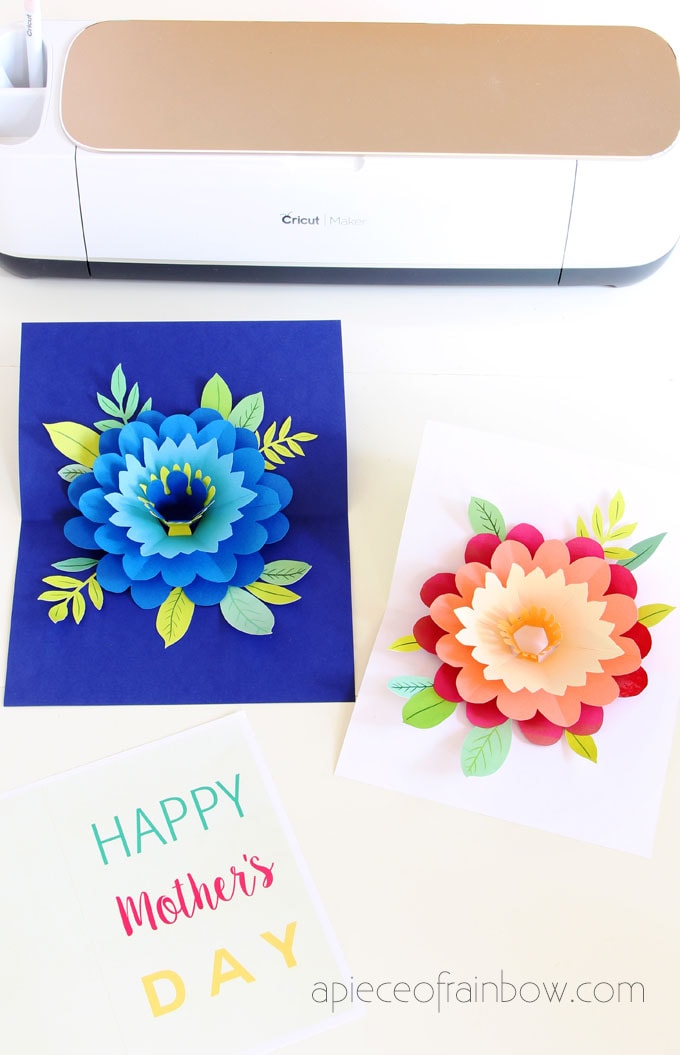
Last year I shared a DIY Happy Mother’s Day card with pop up flower bouquet here. It did require some precision to line up all the pop-up flowers, and was challenging to some of you. So I decided to create a really easy, and equally beautiful pop up card for this year.
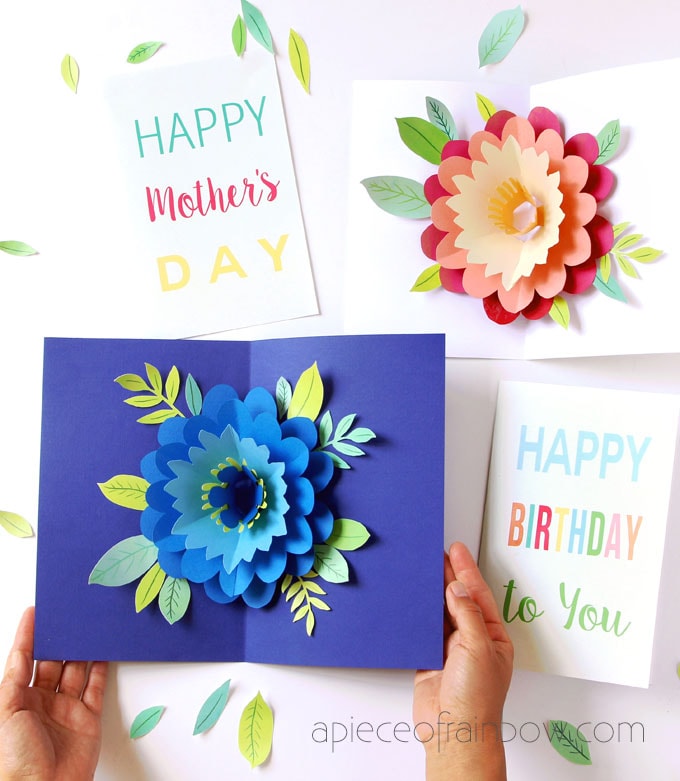
Here it is! This handmade Happy Mother’s Day card is FAIL- PROOF even for beginners at last minute. I tested it five times ( really ), some cards were cut by hand, some using my favorite crafting machine: the Cricut Maker. Every one of them popped up, easy peasy. It’s also a fun paper craft to make with kids!
You are watching: DIY Happy Mother’s Day Card with Pop Up Flower

I will share with you all the free printable leaves and flowers templates, SVG files, and step by step tutorial with a video on how to make a beautiful DIY Mother’s Day card with a big pop up flower.
If you have a Cricut Maker or Explore, I have a special treat for you. Have you tried the amazing Cricut print then cut feature? You won’t believe how easy it is to cut these hand-drawn leaves I made for the card using this amazing feature. As a first timer, I am able to learn and use it in less than 5 minutes!
This is a sponsored conversation written by me on behalf of Cricut. The opinions and text are all mine.
Video tutorial on how to make pop up flower Mother’s Day card. Written instructions below.
Materials and tools to make the DIY Mother’s Day card with pop up flower:
- Card stock or construction paper: Cricut.com has really beautiful quality cardstock. I use a pack of mixed blue card stock for the blue flower card, and a pack of pink and ivory card stock for the pink flower card . You can use this white card stock to print the covers and the hand drawn leaves.
- there are two ways to cut everything: you can use scissors or an Xacto knife to cut, but if you are a DIY and crafts addict like me, a Cricut Maker ( or Cricut Explore ) is such a joy to use! The smart machine can cut so many materials in no time.
- a printer to print the Mother’s Day card templates at the end, including the cover and the leaves , and craft glue or hot glue

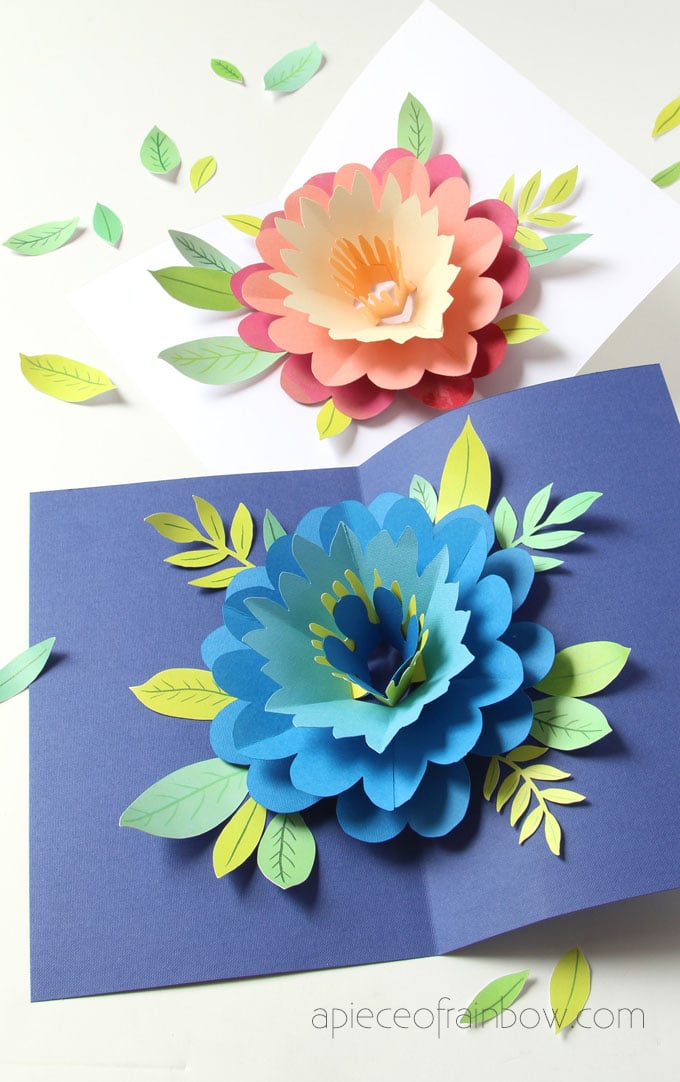
The colorful floral card is quite universal, and you can give this pretty homemade card not only as an appreciation for mom, but for grandma, aunt, family members and friends! This would also be a lovely card to celebrate other special days such as birthday, anniversary, or even graduation!
For those who always wonder “What do you write in a handmade Mother’s Day card?” This one is easy. A pop-up flower is worth a thousand words, isn’t it? 🙂
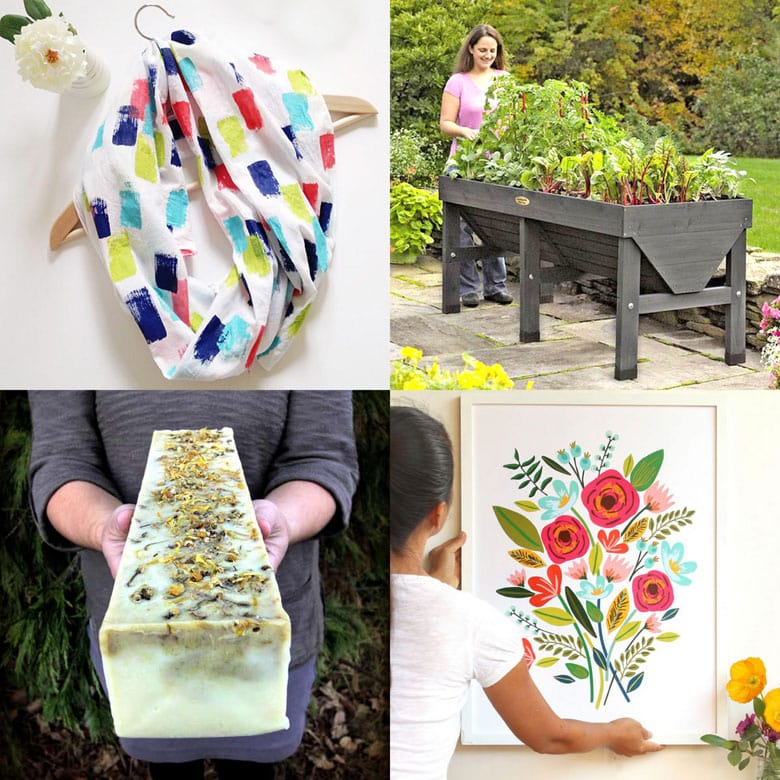
You may also enjoy our 25 beautiful and easy DIY Mother’s Day gift ideas !
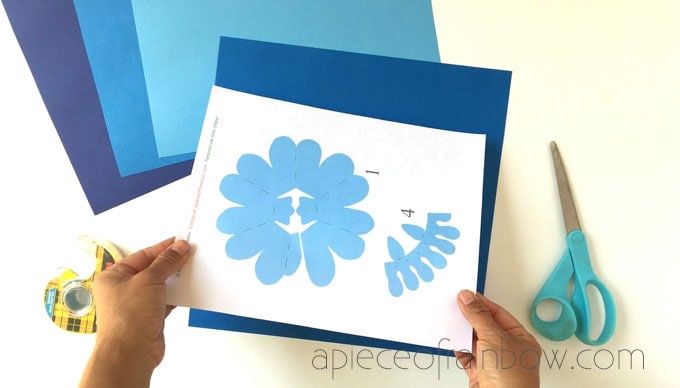
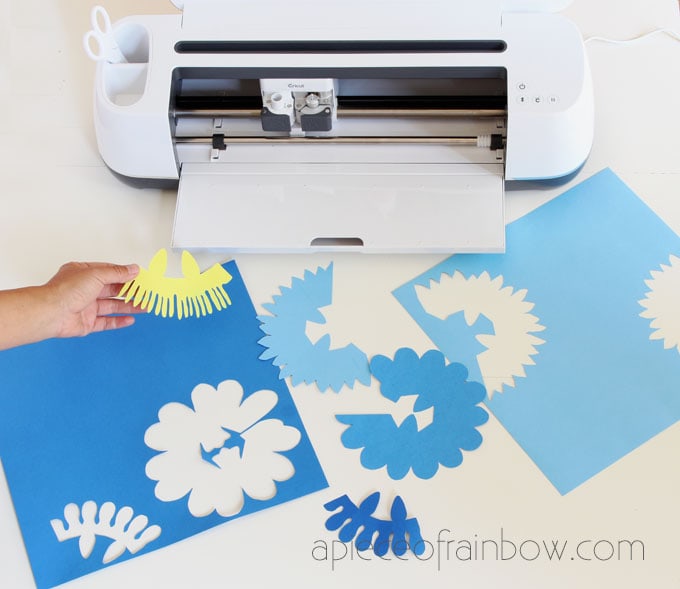
Step 1: Cut flowers and leaves
NOTE: If you want only black and white line drawings to print on color paper, you can use this free online tool to trace the png/jpeg files into outlines only, it works great! 🙂https://online.rapidresizer.com/photograph-to-pattern.php
You can make a gorgeous flower using as few as 3 to 4 flower layers, or use all 5 layers.
If you are cutting everything by hand, tape the flower templates ( free download at the end) to the card stock using double sided tape, and cut using scissors or an Xacto knife.
Read more : Free Christmas Catalogs by Mail
The Cricut Maker is my favorite little helper on so many crafts and decor projects. I am sharing the SVG file at the end for you to use. Here’s a detailed tutorial on getting started with your first Cricut Maker project in 20 minutes!
To cut the flowers, just upload the SVG flower file in Cricut Design Space, double check and make sure the largest flower measures about 6″ to 6.5″, and keep the group of flowers together when you resize.
Tip: after resizing, un-group, and select each flower shape with the cut lines on it, and click “attach”. The attach function helps to hold all your cuts in the same position within each flower shape. The Cricut Maker will group the same colors on a cutting mat, and prompt you to change mat when cutting the next sheet of color card stock.
Now the super fun part: print then cut! I couldn’t believe how easy it was. The key is to use a png or pdf file which has transparent background. I made this sheet of hand drawn leaves as a png file you can download.
When you upload it in Cricut Design space, it will ask you to choose whether it’s print then cut, or cut only. Selecting print then cut will tell the machine to print the entire image, and cut along the outlines of each leaf on the transparent background.
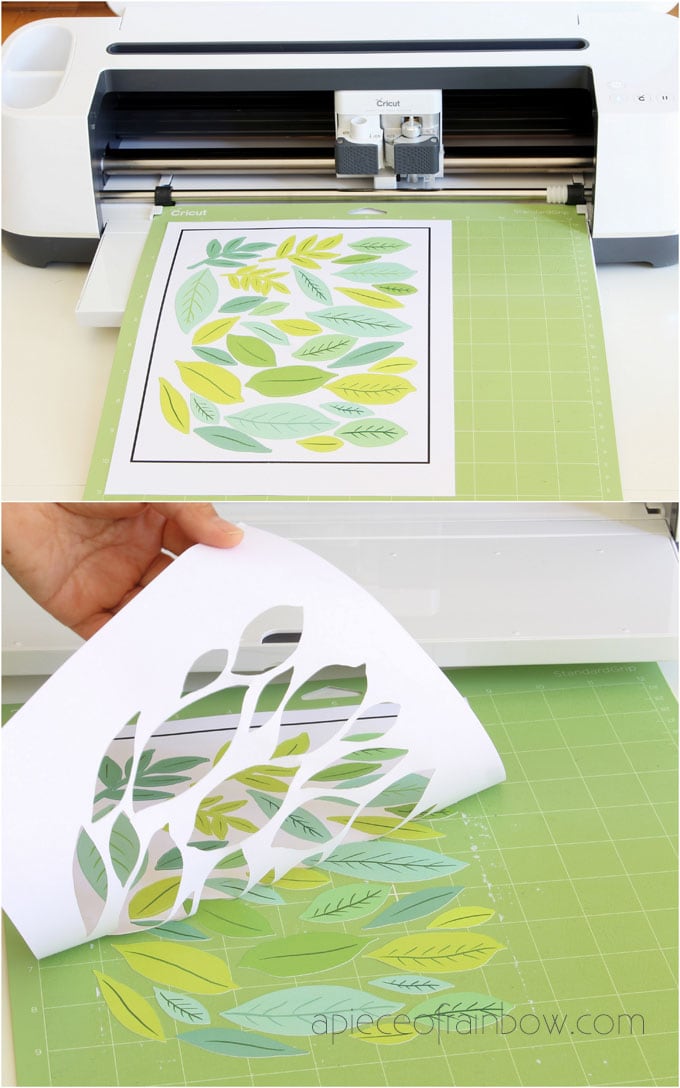
First the machine will send the png file to your printer, and it will print out like this: the black lines are registration marks, and each leaf has a little bleed around the edges, this ensures that each leaf is cut precisely to the right size without any white paper left on the edges. So smart!
Keep in mind that currently the maximum image size for Cricut Print Then Cut is 9.25″ x 6.75″ and the default material to print is 8.5″ x 11″.
You may also love: DIY pop-up Father’s Day cards with funny quotes!

Step 2: Fold and glue flower layers
The key to this step is to carefully match the tabs on each layer, and use just a dot of glue on each tab. I will show detailed photos. You can also watch the video tutorial below to follow along.
Video tutorial on how to make pop up flower Mother’s Day card
Fold flower #1 in half, matching the two tabs, fold in between the petals along the cut lines, glue the two end petals together. Repeat with the other flower layers.
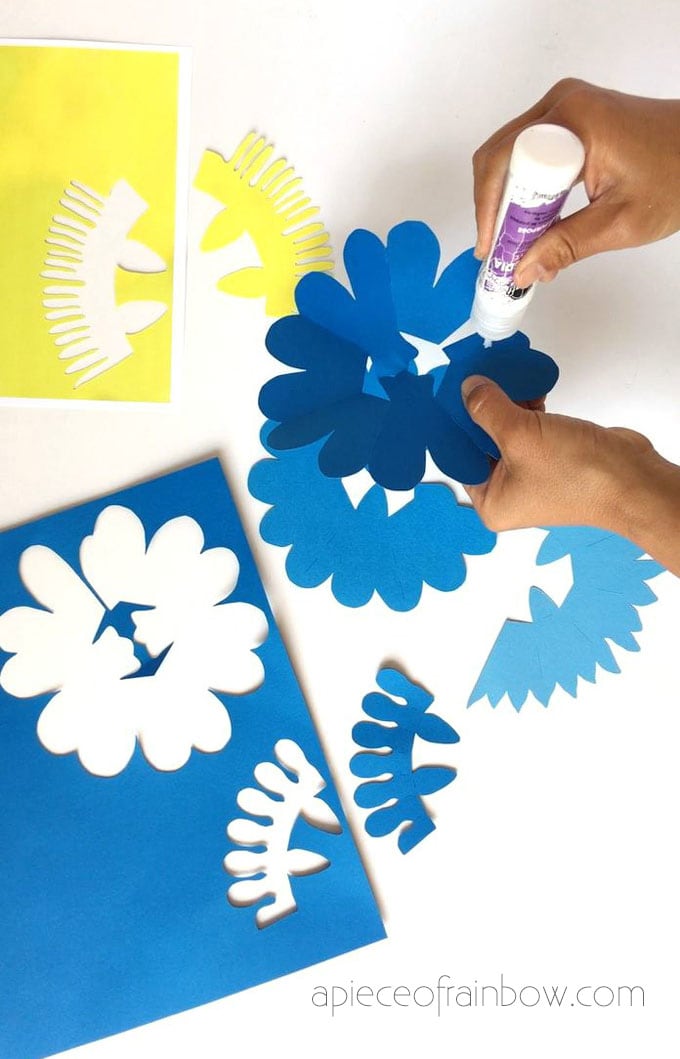
Place flower layer #2 inside layer #1, fold the tabs of each layer so the folding line matches. Glue the tabs of flower layer #1 to layer #1. Repeat with flower layers #3.

Read more : How to Submit your cards to PSA 2023 – Complete Guide
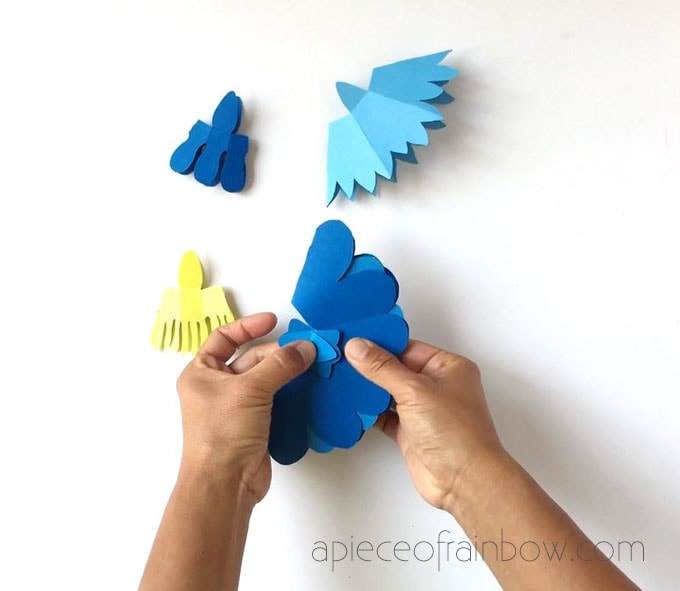
IMPORTANT: When it comes to the center layers #4A and #4B, instead of trying to match the folding lines, match the tip of each tab.
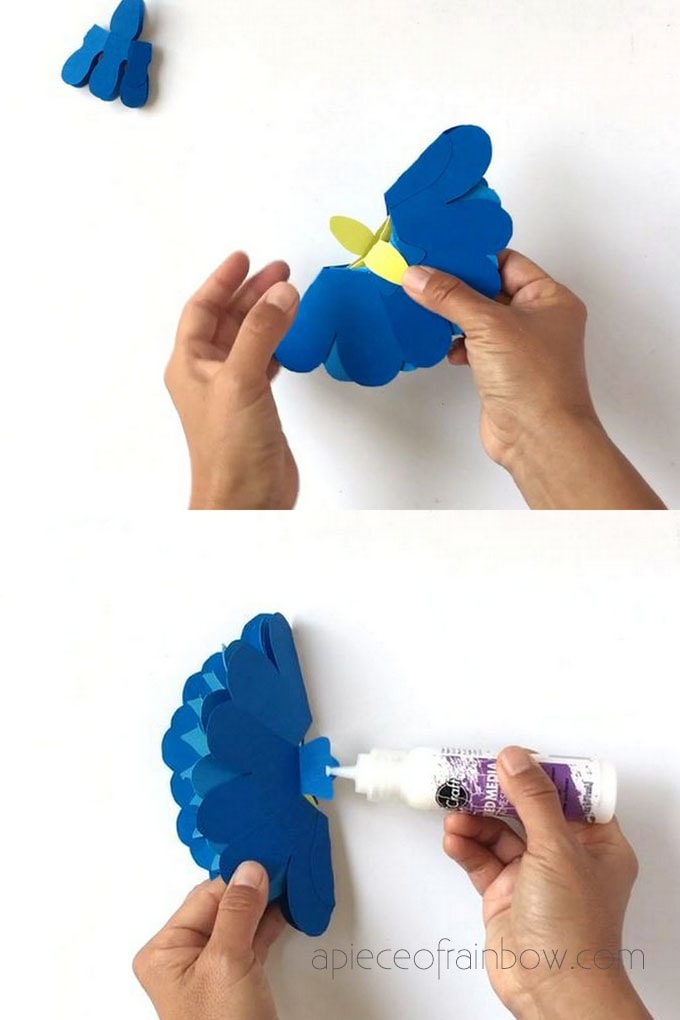
Once all the layers are glued together on these tabs, put a dot of glue between the back of the tabs on layer #1 and the back of layer #1 petals, and press together. This will help the flower open to full size.
You may also love: 53 best Mother’s Day gifts you can get for under $50 on Amazon!

Step 3: assemble Happy Mother’s Day card with pop up flower.
There are different ways to create the cover for our homemade Mother’s Day card with pop up flower. You can print it out on this white card stock ( like in the pink flower version), or use it with colored card stock to create a layered look (like in the pink flower version).
I love the blue flower on the deep blue background, so I trimmed Happy Mother’s Day card cover, and glued it to the deep blue card stock also trimmed to about 9″x11″, and folded in half.
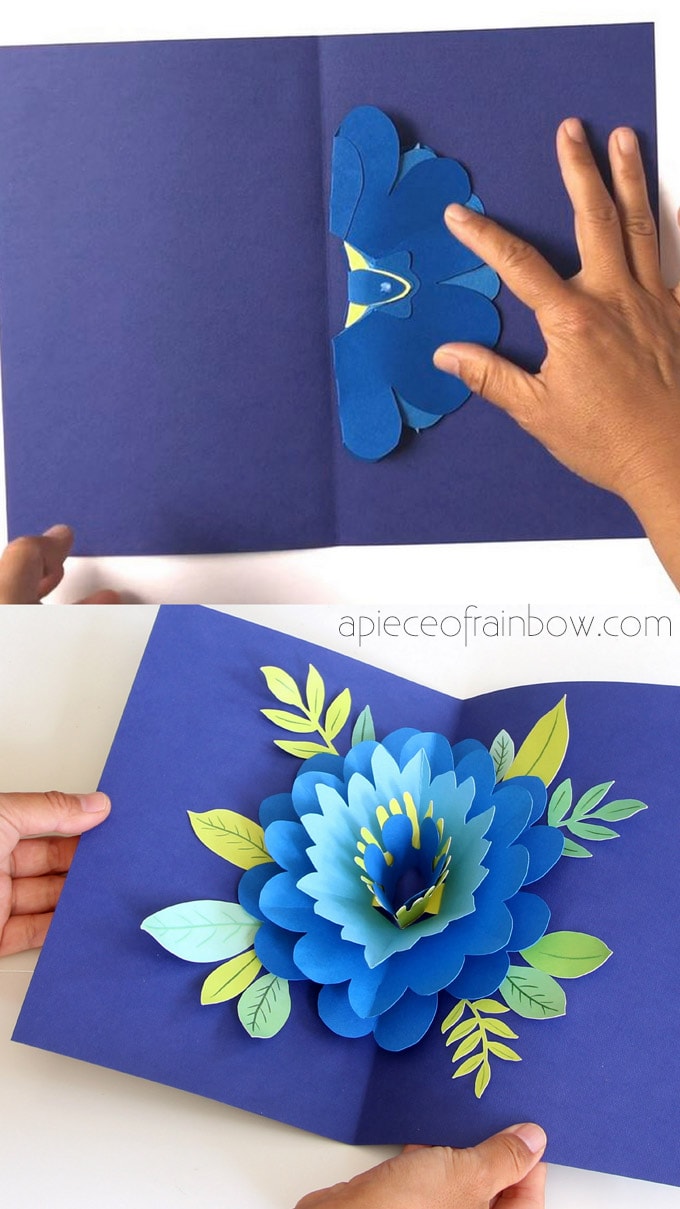
Center the stack of flowers vertically inside the card, and line it up with the folded line. Put a dot of glue on the back of the tabs and press together the cover and the flower tab. Do this on the front and back cover. Check out the video above if you are unsure of this step.
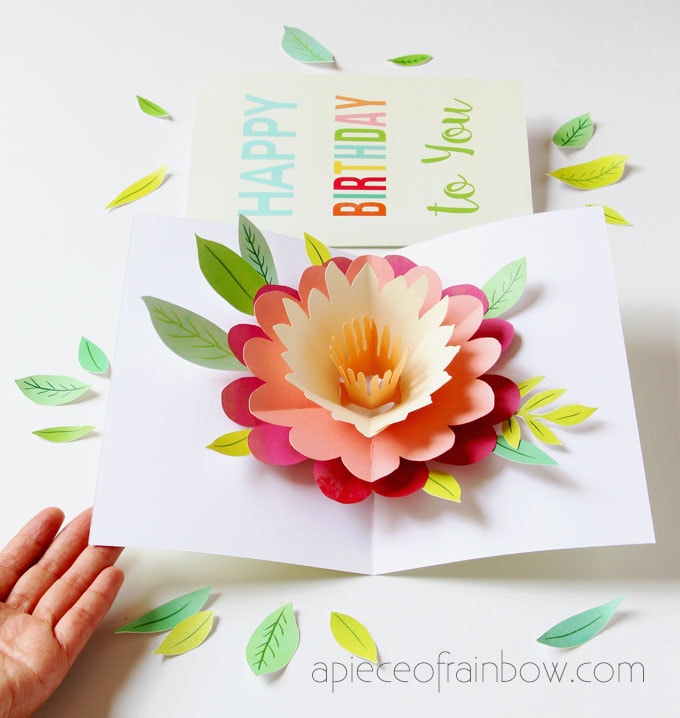
Add some leaves as final touches. You can glue the leaves to the colorful card or to the back of the flower bouquet. Use your creativity! It is so much fun playing with these DIY Mother’s Day cards. Don’t you think they would make beautiful displays on a shelf or mantel?
To download all free templates for this handmade Mother’s Day card and lots of other goodies, join our 100% free community below!
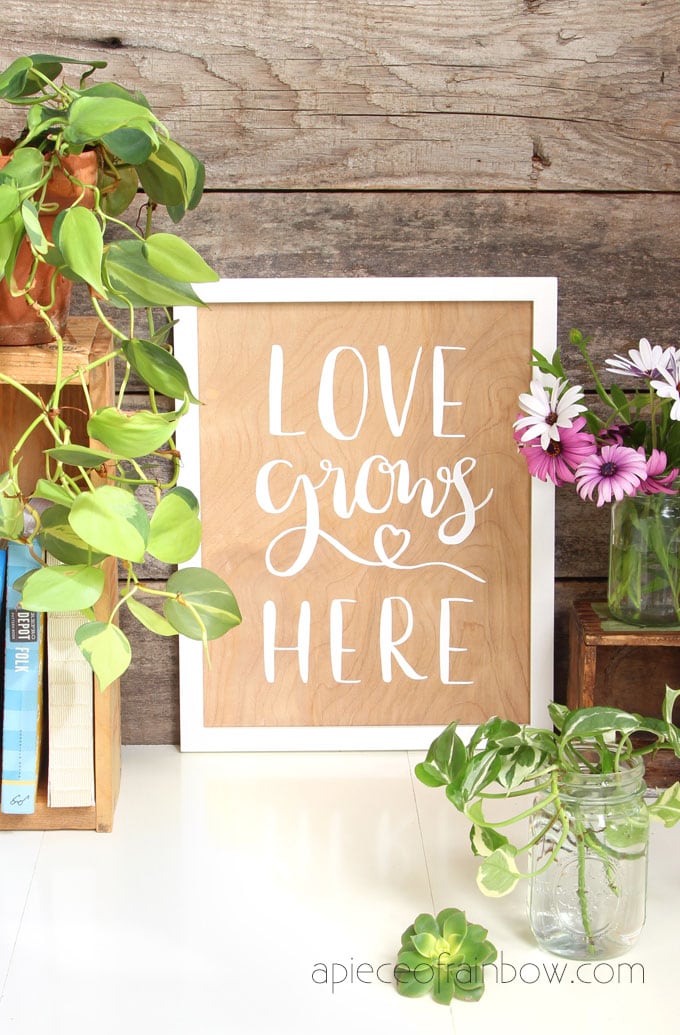
Want more Cricut project? Here’s a set of DIY wood wall art with hand lettered quotes you can make in an hour!
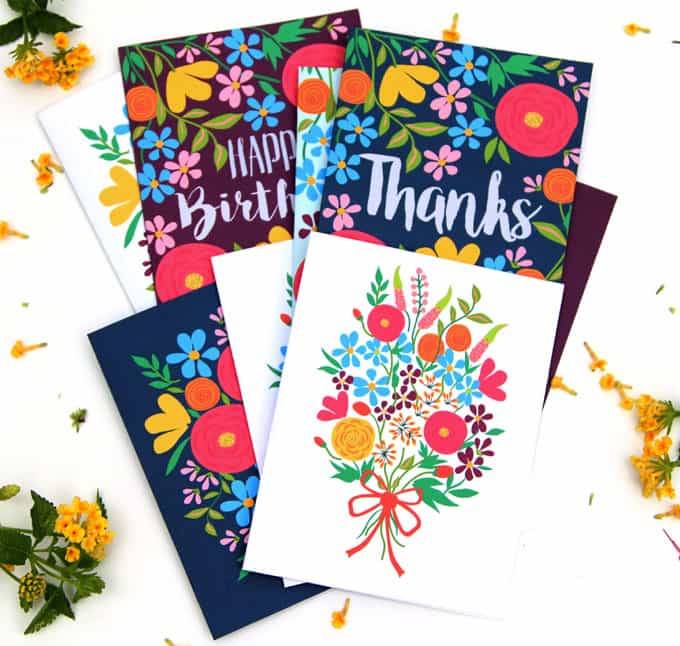
You may also love: A huge set of free printable cards with coloful floral designs!
Another 3D paper craft to make: DIY giant 3D paper snow flake pendant.

Happy creating! See you soon!
Source: https://antiquewolrd.com
Categories: Cards & Envelopes