

Go visit the template gallery for more options.
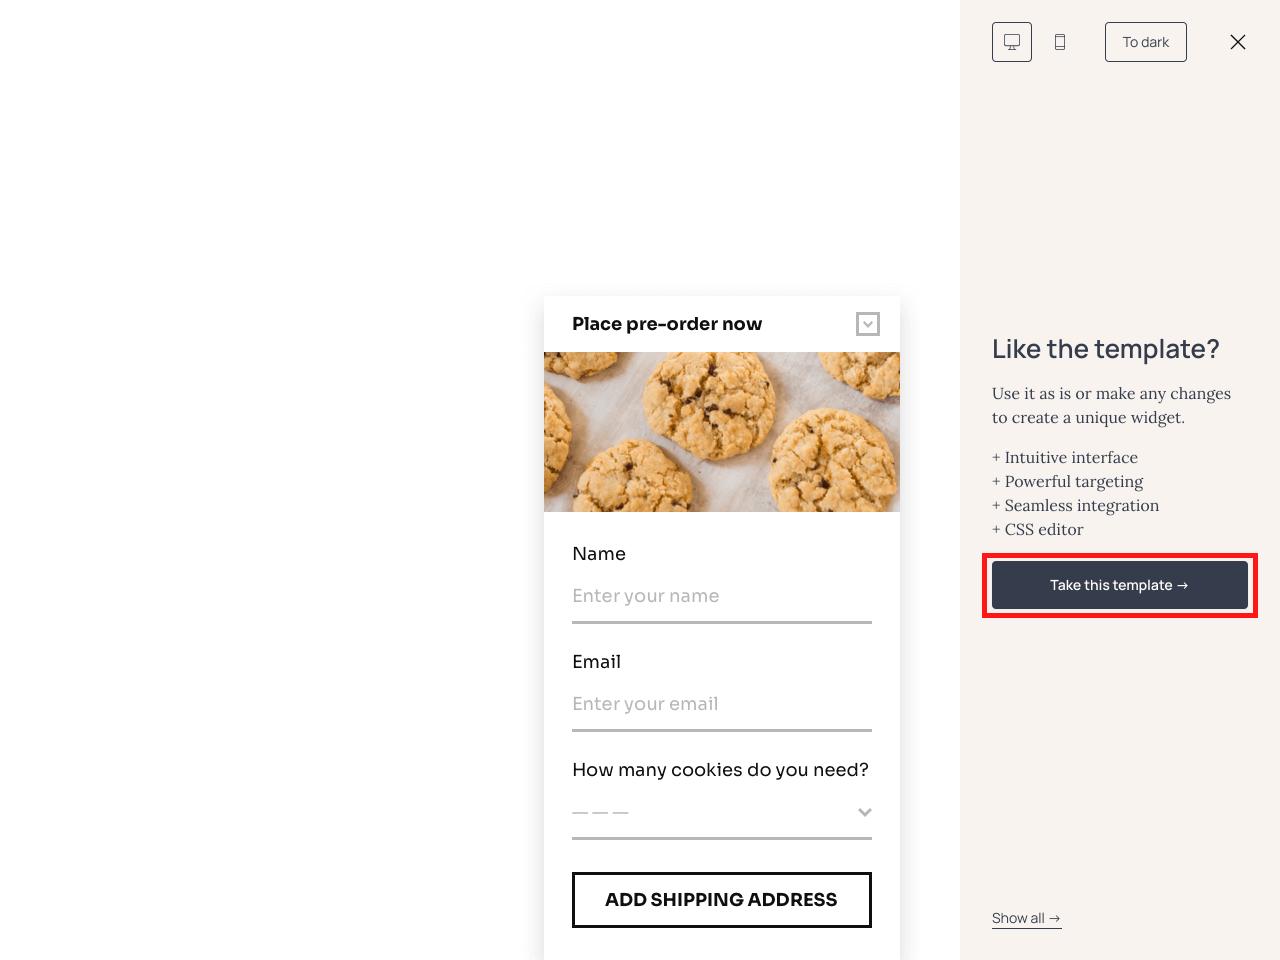
Decide which template you’d like to use for your website, open it, then click the Take this template button.
You are watching: How to create a pre-order form for your website
If you haven’t created a Getsitecontrol account yet, you’ll be prompted to do that. From there, you can adjust the form to your needs and publish it on your website. Here’s a step-by-step tutorial on how to do that.
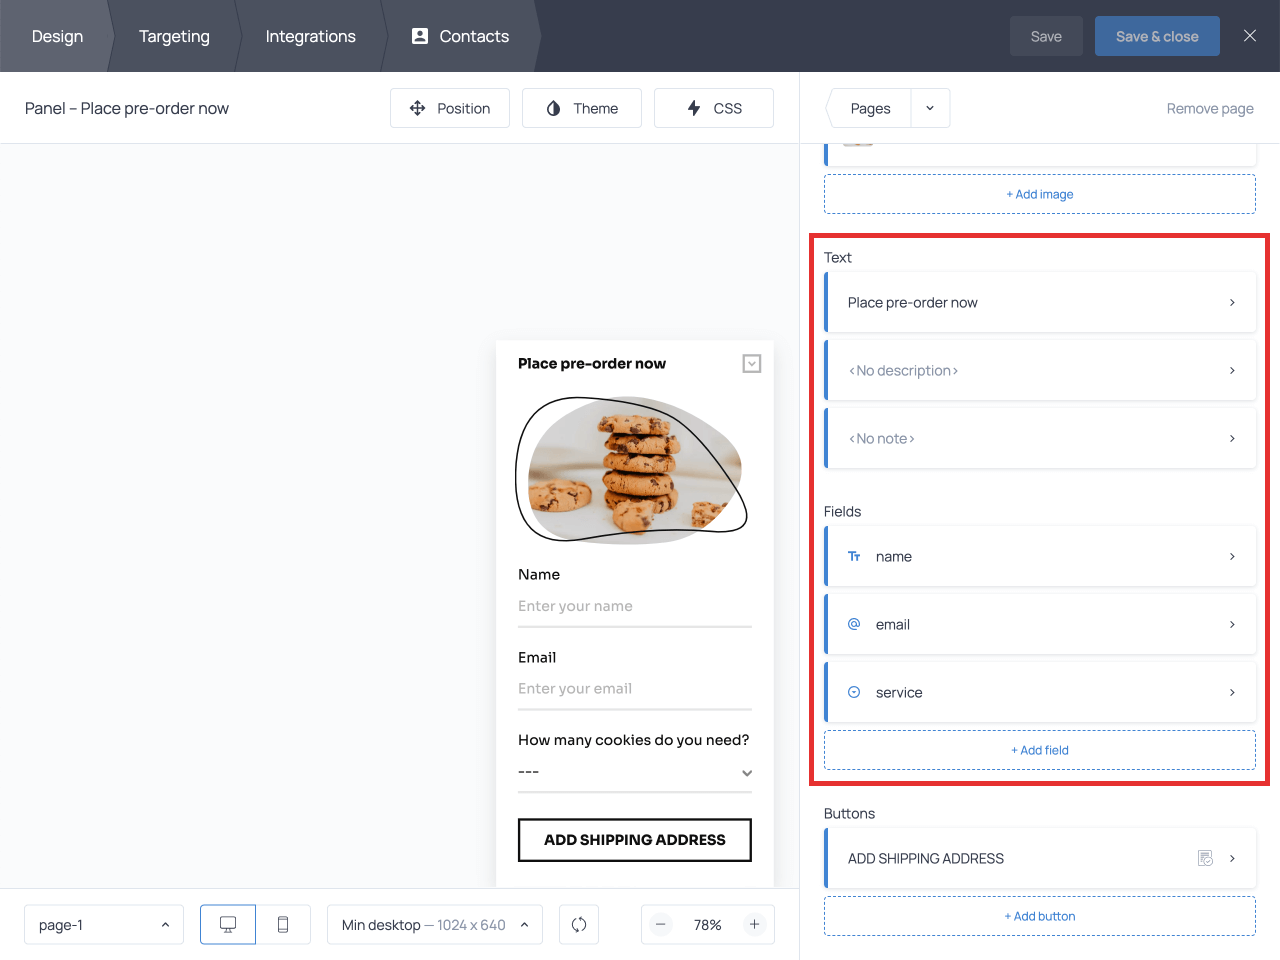
Step 2. Adjust the copy
From the Design tab, you can edit the copy, fields, and image of the form. To change the title, description, or field name, simply click on it and type the new text.
This template contains 3 pages. Go to the top right corner to switch between pages and edit their content. For instance, this form requires buyers to type their shipping address on the second page 👇

If you want, you can add or delete pages, change the field order, delete existing fields and create additional ones.
The last page of the form is typically reserved for the submission success message.
The submission success message confirms order placement and tells buyers what happens next. In this case, whoever fills out the pre-order form will receive an automated follow-up email with a payment link and instructions. We’ll show you how to create such an email in a moment.
Step 3. Change the image and theme
Getsitecontrol allows you to easily change the color theme and image. To do the former, just hit the Theme button at the top and adjust the settings.
You can also switch the font to make it match your website’s design better, or apply one of the pre-made themes to save yourself some time.
Read more : 18 of the Best 90s Fashion Trends We’d Still Wear Today (and Do)
To change the image, click on it and proceed to choose a new one by hitting the Change image button. You’ll be able to search for alternative images using the built-in gallery or import your product photos.
Repeat this procedure for every page of the template where there’s an image.
💡 Want to remove the image from the form entirely? Then click on it and hit Remove image. Keep in mind, however, that in this case you might need to adjust the spacing from the Container section of the dashboard.
Step 4. Set up a follow-up email
Once you finish with the design, switch to the Targeting tab and move on to Follow-up. The follow-up feature enables you to send an automated email to everyone who fills out the form.
Use the follow-up email to confirm order placement, send the purchase link, and provide instructions.
You don’t need to have an email marketing platform to send follow-up emails with Getsitecontrol. Just click the + Add follow-up email button and start putting together your message.
For starters, add the subject, pre-header (Email preview), sender’s name, contact email, and unsubscribe link text to the menu on the right.

Then, proceed to type the body of the email.
When you have finished working on the copy, complete your email with an image or GIF and a CTA button that redirects your customers to the payment page:
You can also add a coupon box for your early birds and use the dynamic text replacement function to add variables that will make the message more personal.
When you are satisfied with the result, click Done to save your follow-up email.
💡 If you want to receive notifications about new form submissions in your inbox, go to the Integrations tab, click the + Add notification button, and type your email address.
Read more : Store.
Once you set up and activate the form, it will appear on every page of your website. Should you decide to display it on selected pages only, include the URLs of these pages in the first field under the Targeting tab. Check out this article to learn about more targeting options.
Step 5. View order submissions in a convenient format
You can view order submissions in bulk and individually. To access them, open the Responses report in your Getsitecontrol dashboard and proceed to Details.

However, if you’re using 3rd-party software for your business, such as CRM, Google Sheets, or any other app, you can connect it to the form and automatically send the collected data to it. To implement that, go to the Integrations tab and click +Add application:
Choose the app you want to send data to from the dropdown menu and follow the prompts to set up the integration. For more detailed instructions, check out our guides on integration setting.
3 tips that will encourage your visitors to place pre-orders
It takes a lot of effort to launch a successful pre-order campaign, and the volume of orders will mostly depend on the demand for your product. However, there are some common practices for nudging those customers who are already on your website but are hesitant to fill out your pre-order form.
Use minimum fields
Nobody likes long and sophisticated forms. Moreover, every extra field lowers your chances of getting that pre-order you’re looking for. So, as a rule of thumb, you want to avoid unnecessary questions and ask the bare minimum, such as contact information, shipping information, and information about the desired product.
The fewer fields a customer has to fill out, the higher the chances they will complete the form.
Use incentives
Including incentives is a good practice that helps encourage pre-orders. They are especially effective if you want to create hype about a new product on social media. Consider offering one of the following to your first buyers:
- Limited quantity or time discounts
- Free shipping
- Swag packs
- Samples
Or any other perks your customers may enjoy.
Use scarcity
If you’re collecting pre-orders for a limited-quantity item, make sure to mention that it’s scarce. The scarcity principle is a proven tactic to get more pre-orders, because most people like the idea of owning something exclusively or being among the first to own an item.
Create your pre-order form today
For some businesses, pre-order forms are essential. For others, they are a clever marketing tactic that helps forecast the demand, validate an idea, and create anticipation. When you have to pre-order something, it often makes the item more desirable.
Place a beautiful pre-order form on your website today and start collecting orders. With Getsitecontrol, the process is straightforward even if you are a complete non-techie.
Source: https://antiquewolrd.com
Categories: Stamps